Introduction
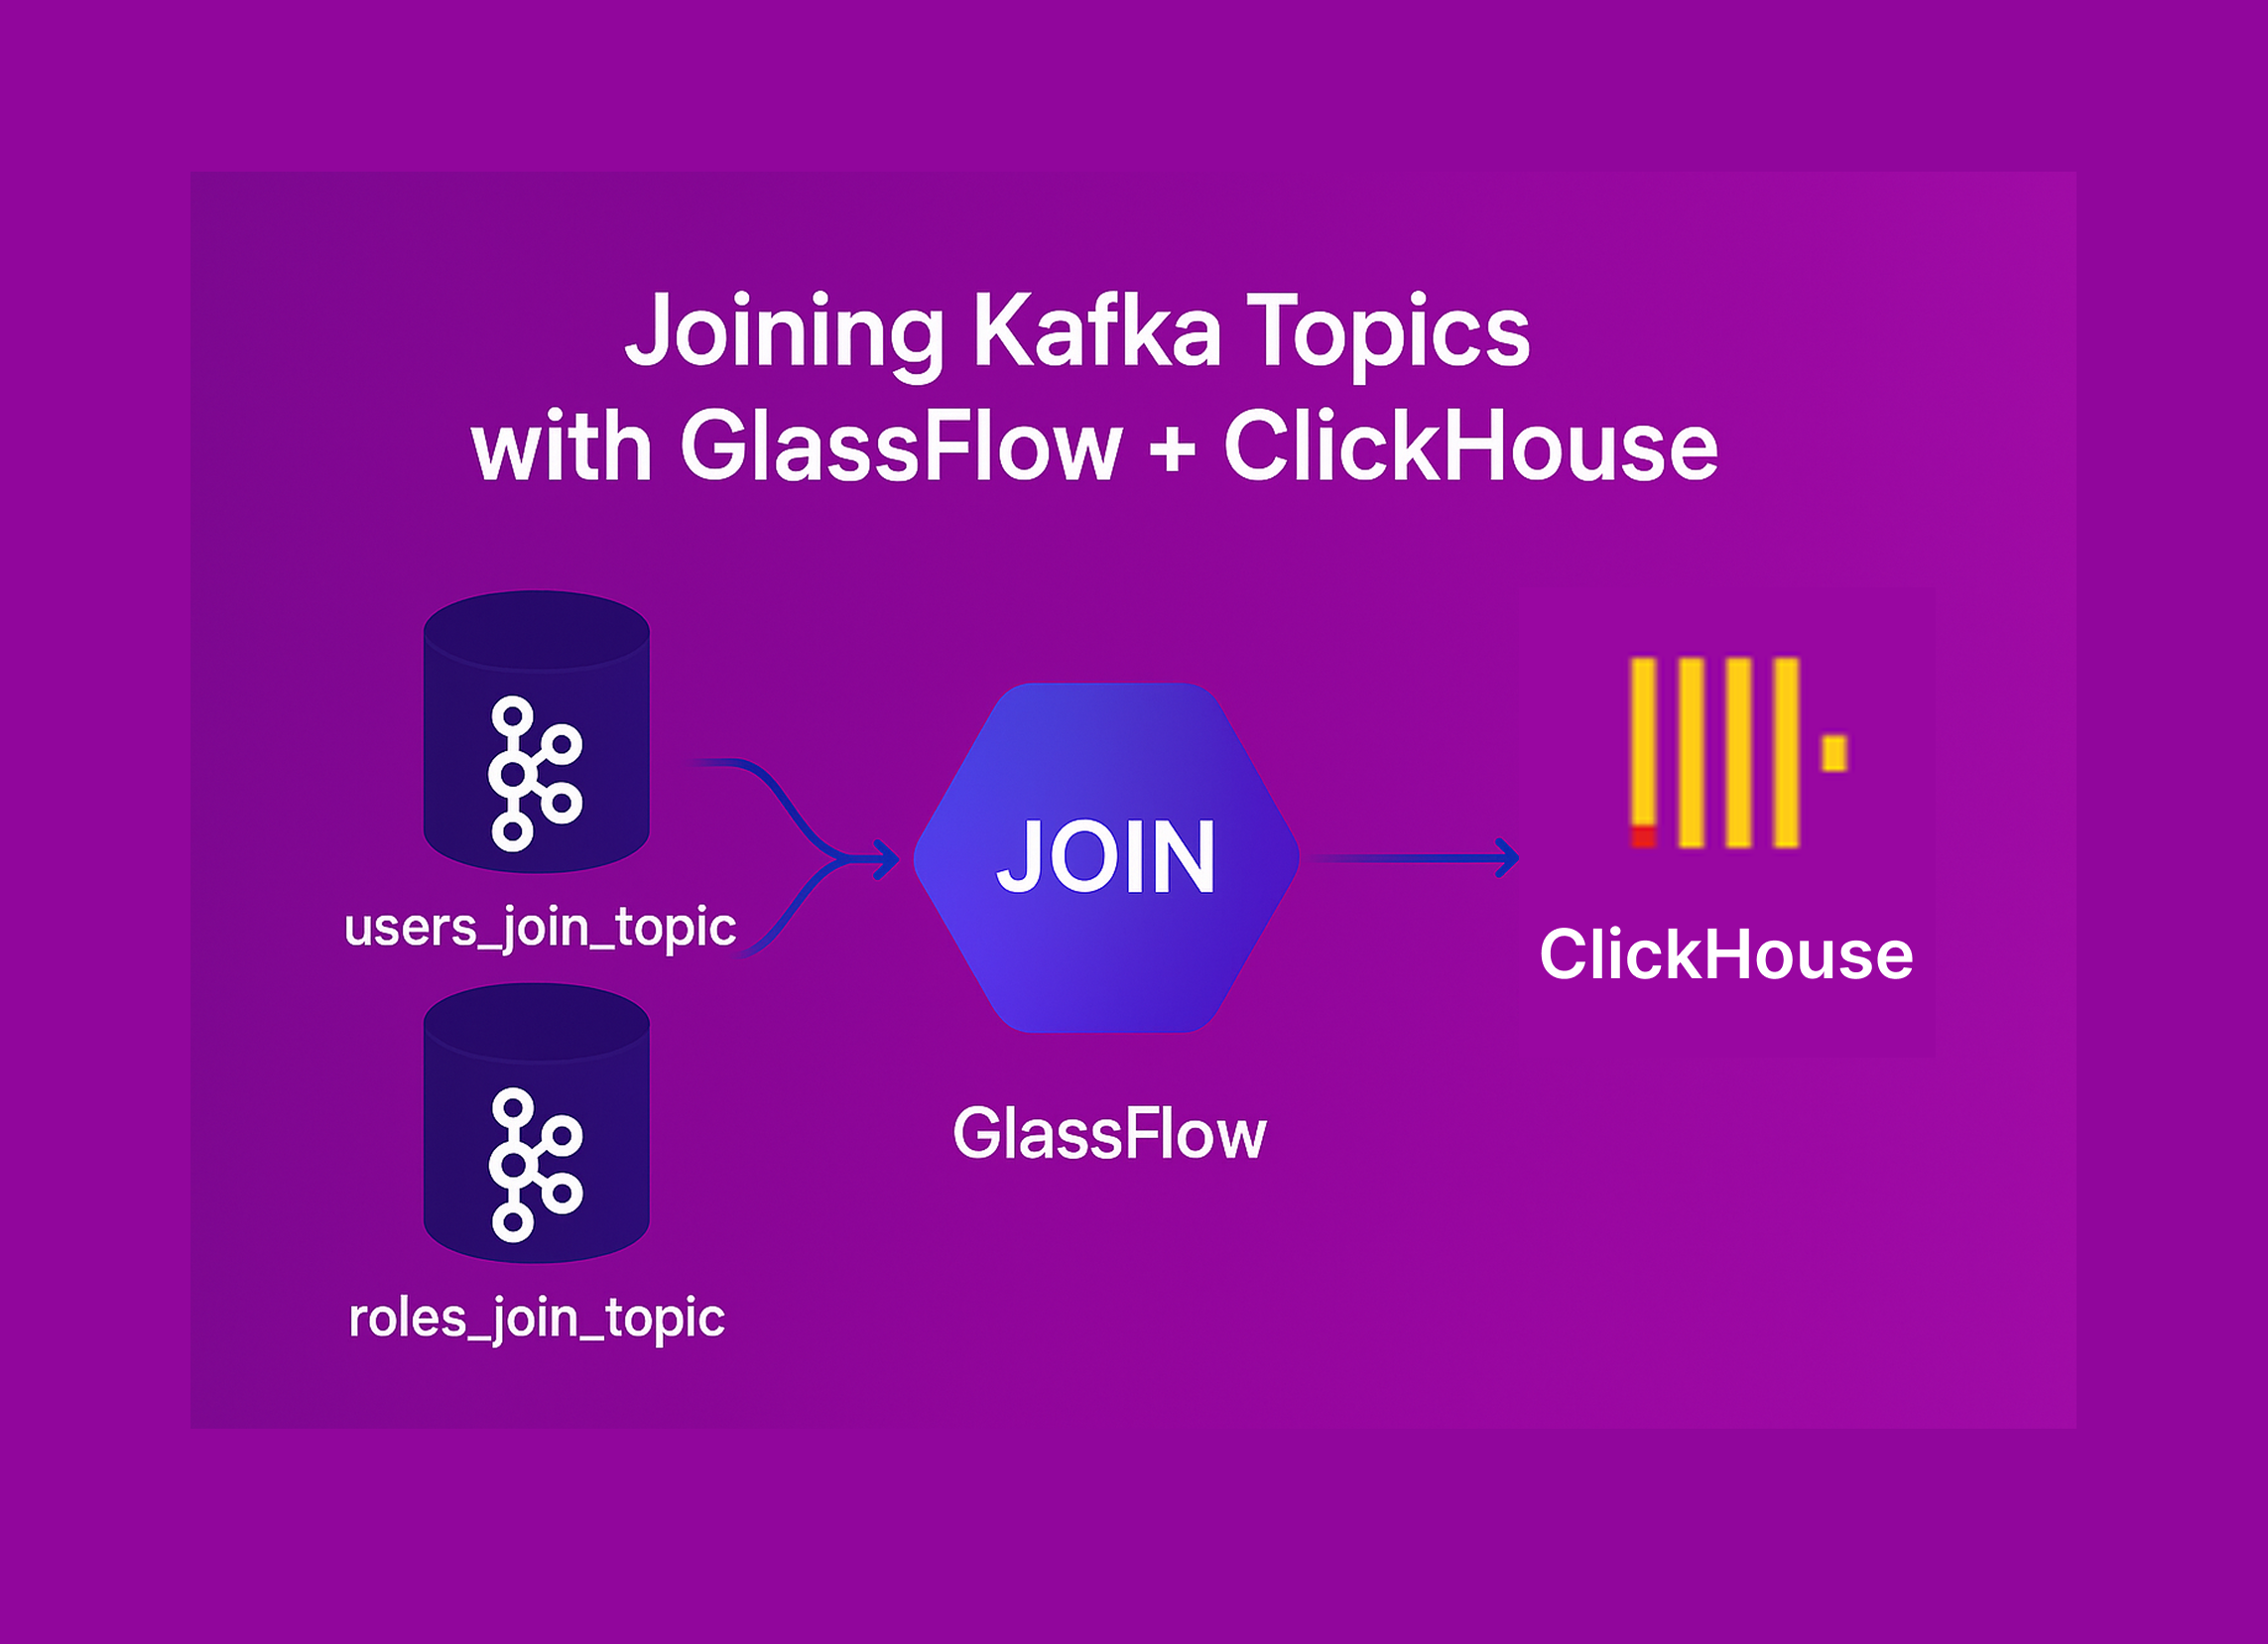
In real-time data engineering, it’s common to work with events from multiple sources. Imagine one Kafka topic streaming user data and another streaming role assignments – we often need to join these streams in real time to build a complete picture.
This is where GlassFlow Join comes in. It lets you merge two Kafka topics into a single enriched stream, which you can then ingest into ClickHouse for analytics.
👉 Before diving in, you might want to check out my earlier blogs:
Now, let’s walk through a hands-on example of joining two Kafka topics step by step.
Prerequisites
- Docker & Docker Compose installed.
- Kafka service running (with ability to create topics).
- GlassFlow stack running (
stableimages). - A ClickHouse server running (to store the results).
1. Create Kafka Topics and Add Sample Data
We’ll create two topics – one for users and one for roles:
docker exec -it kafka kafka-topics --create \
  --topic users_join_topic \
  --bootstrap-server localhost:9092 \
  --partitions 1 --replication-factor 1

docker exec -it kafka kafka-topics --create \
  --topic roles_join_topic \
  --bootstrap-server localhost:9092 \
  --partitions 1 --replication-factor 1
Now push some events into each topic:
users_join_topic
{"id":1,"name":"Alice","email":"alice@example.com","created_at":"2025-09-02 12:00:00"}
{"id":2,"name":"Bob","email":"bob@example.com","created_at":"2025-09-02 12:05:00"}
roles_join_topic
{"id":1,"role":"Admin"}
{"id":2,"role":"User"}
2. Open GlassFlow and choose Join function


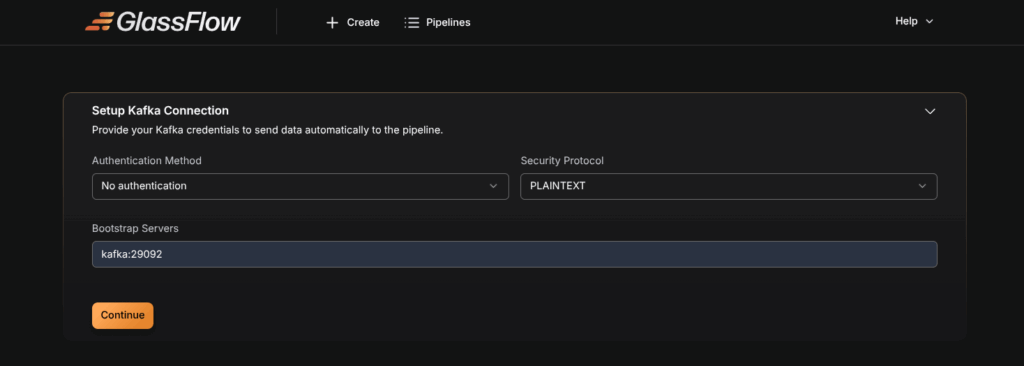
3. Setup Kafka Connection
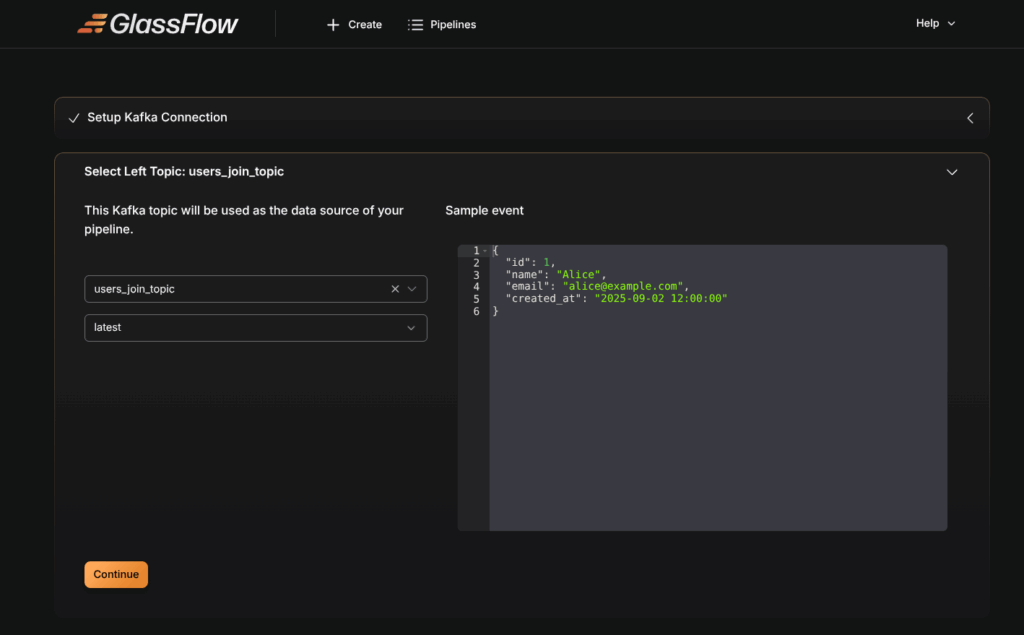
Select Left and Right Topics
- Select
users_join_topicas the left topic. - Select
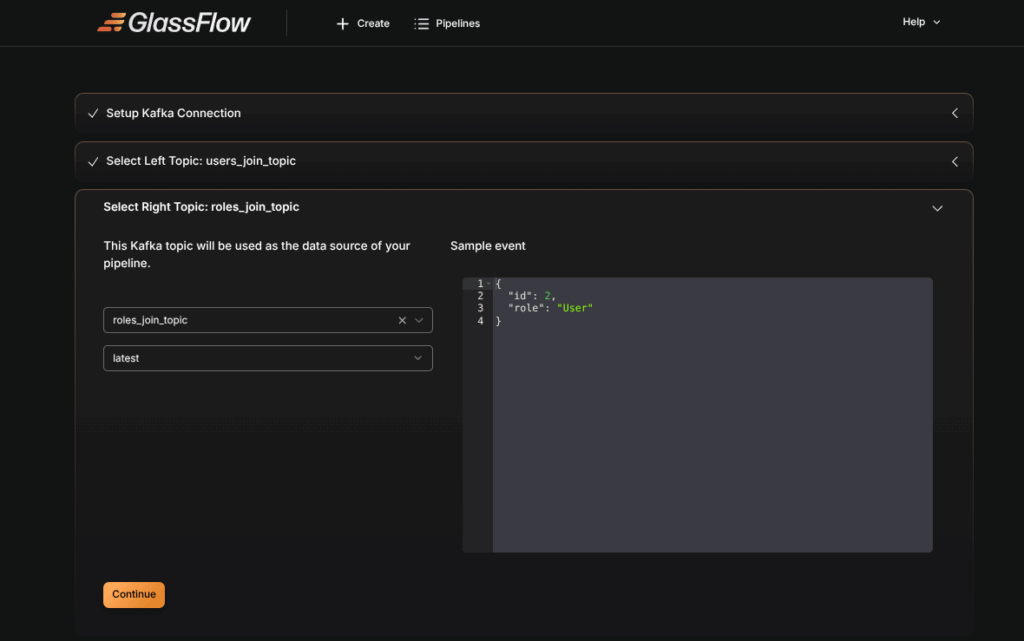
roles_join_topicas the right topic.
💡 Note: Left = primary stream, right = supplementary data.
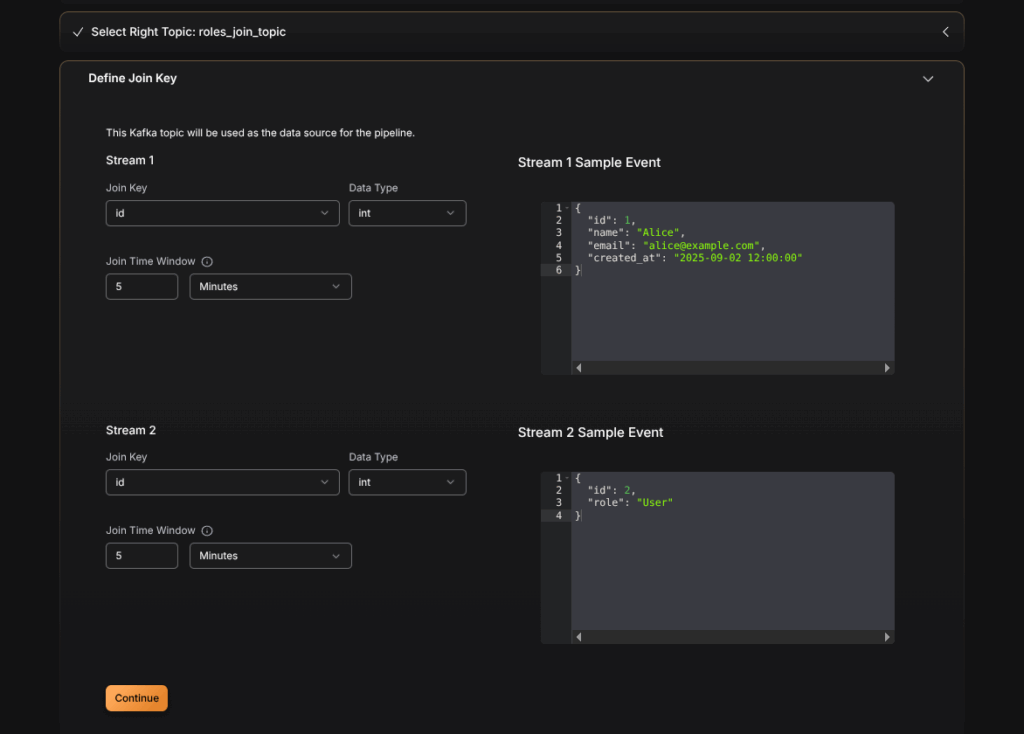
4. Define the Join Key
Next, define the key on which the join will happen. In our case, both topics share the id field.
- Left Key:
users_join_topic.id - Right Key:
roles_join_topic.id
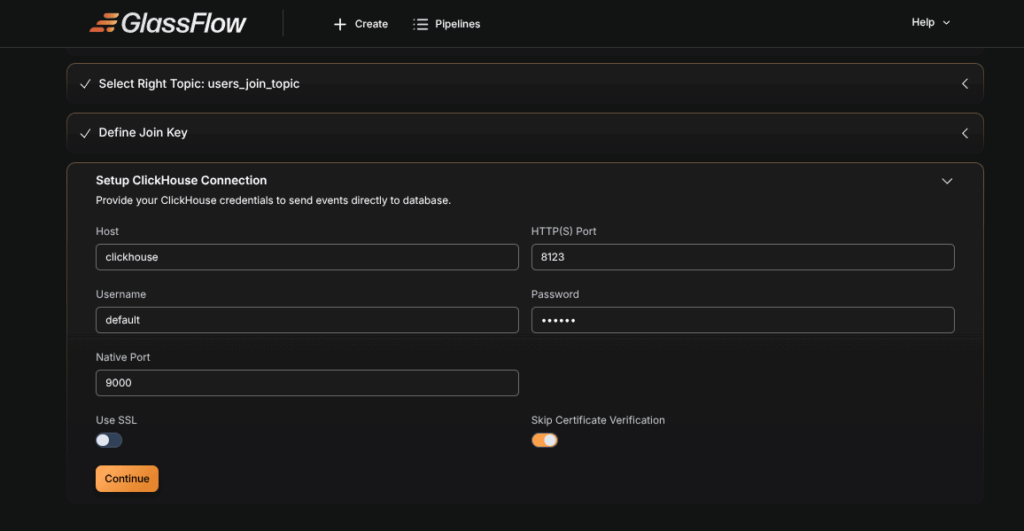
5. Configure ClickHouse Connection
We’ll store the joined output into a ClickHouse table.
First, create the table in ClickHouse:
CREATE TABLE users_roles (
    id UInt32,
    name String,
    email String,
    created_at String,
    role String
)
ENGINE = MergeTree
ORDER BY id;
Now configure the ClickHouse connection inside GlassFlow.
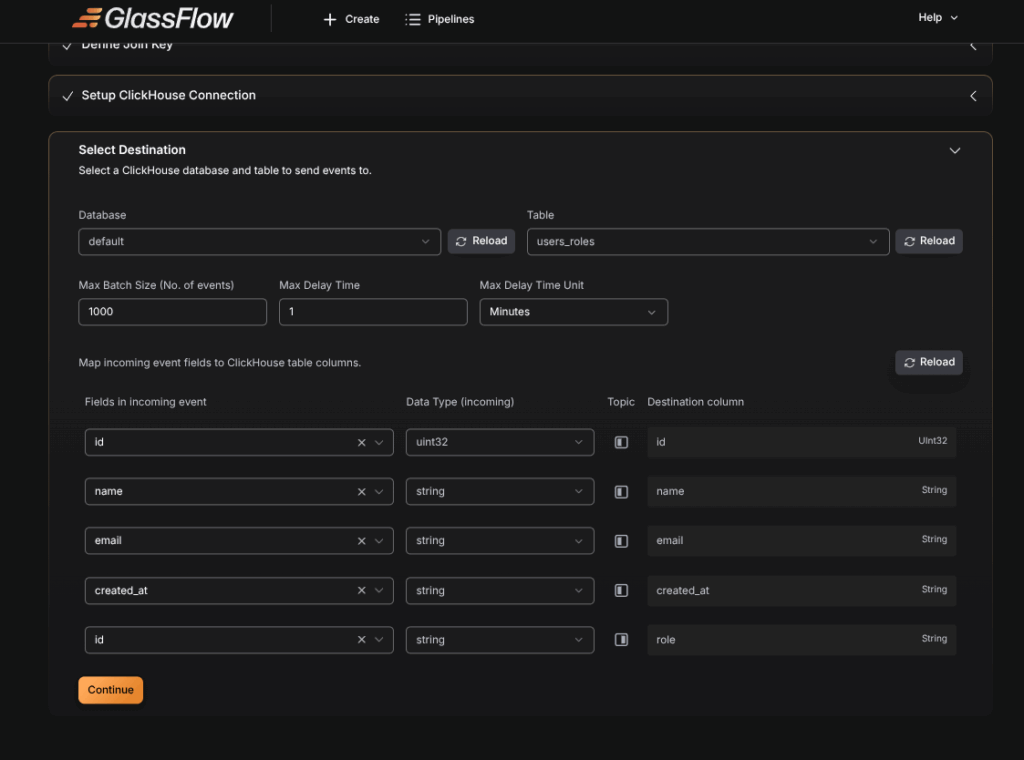
6. Select Destination Table
Choose the users_roles table as the destination. Map the fields from both topics to the table columns.
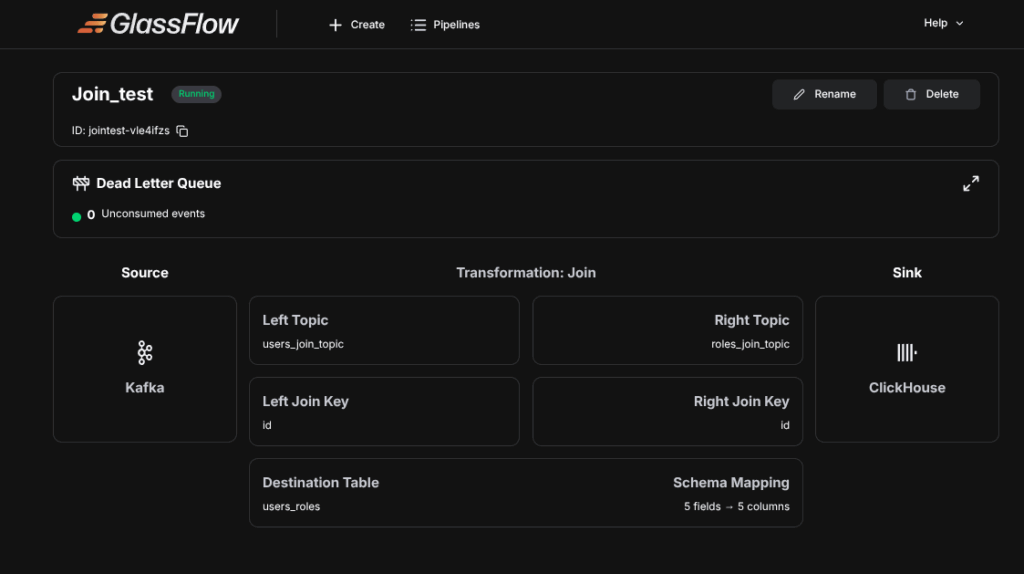
7. Deploy the Pipeline
Deploy the pipeline and wait for it to go Active.
Now insert new events into both Kafka topics – the joined data will appear in ClickHouse in real time.
Final Output
Here’s what the final joined table looks like:

Conclusion
In this tutorial, we successfully:
- Created two Kafka topics (
users_join_topicandroles_join_topic). - Joined them in GlassFlow using the Join node.
- Stored the results in ClickHouse.
This is a powerful pattern in real-time pipelines – combining different streams into a single enriched dataset.
👉 Don’t forget to check out the previous blogs in this series for more on GlassFlow Ingest and GlassFlow Deduplication.
Thinking Ahead with ClickHouse
Getting started with GlassFlow locally is a great first step. But scaling with ClickHouse in production requires more than setup – it means handling deployments, migrations, and performance tuning.
That’s exactly why Quantrail Data exists. We take care of the hard parts – from managed ClickHouse services to migration support – so your team can focus on analytics, not infrastructure.
Ready to scale with confidence? Contact Quantrail Data today.
References
GlassFlow GitHub Repository
GlassFlow Ingestion blog
GlassFlow Deduplication blog